Patterns are a popular design element used in fashion, home decor, and digital design. Learn more about the "Power of Patterns" here. Creating your own patterns can be a fun and rewarding experience, and can open up new avenues for creativity and even income. In this article, we'll walk you through the step-by-step process of creating your first pattern.

Step 1: Planning Your Pattern
Before you begin creating your pattern, it's important to plan out the design and consider elements like color, scale, and motif. Take some time to brainstorm and sketch out potential pattern ideas. Consider the intended use of your pattern and the audience you're designing for. Keep in mind that you have two options of getting elements for your pattern:
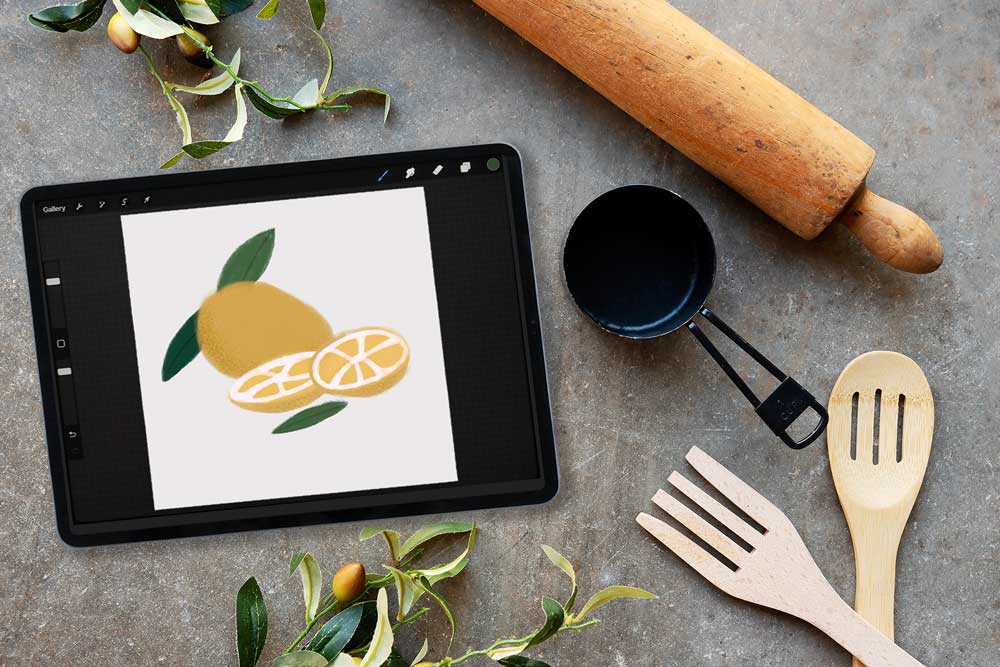
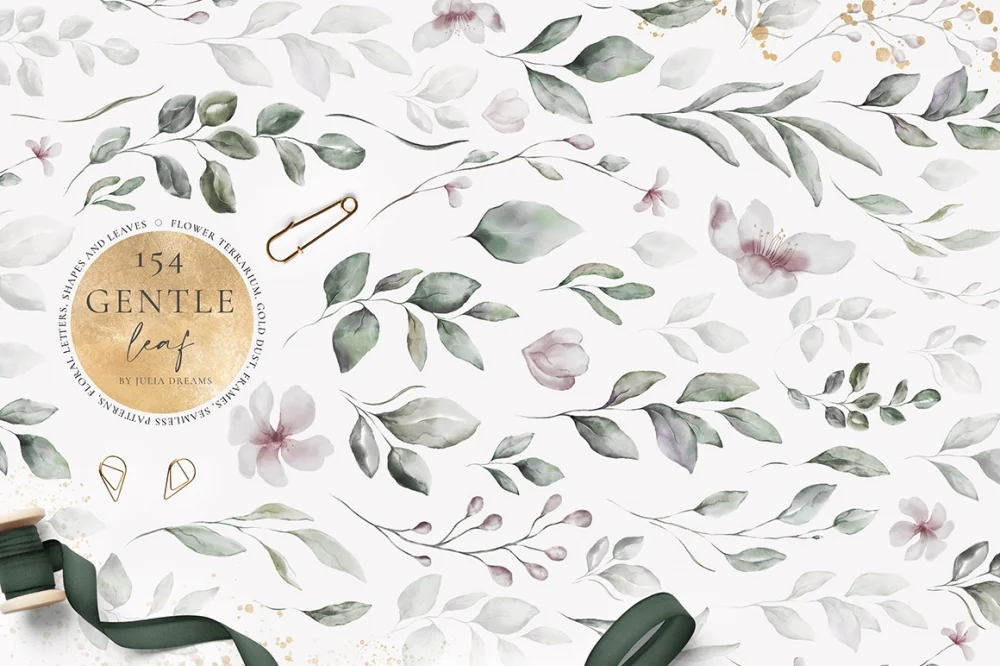
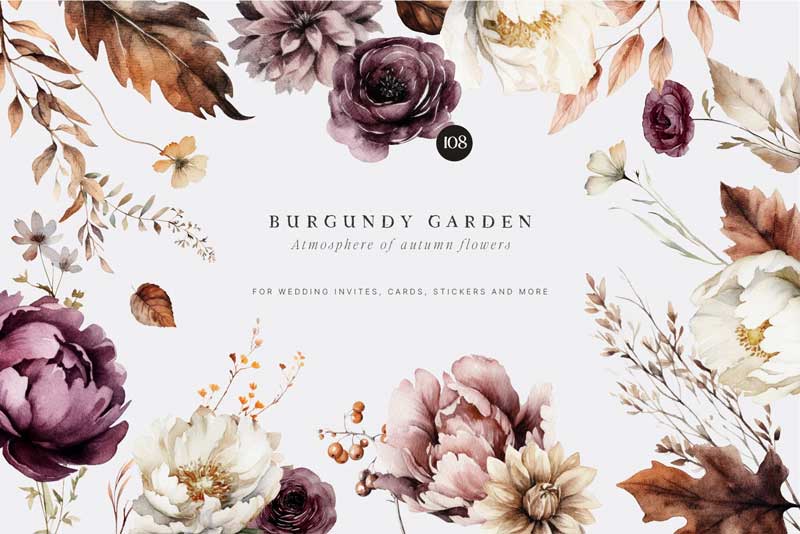
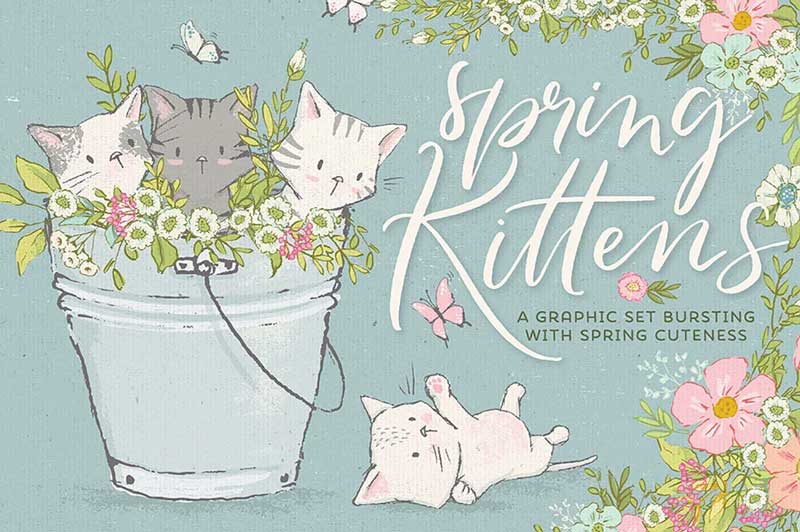
You can draw them yourself in programs like Procreate or Affinity Designer or get them from famous designers. This depends on your skill level and what you want for your business. If you want really unique patterns you can better draw yourself. If you are a beginner and still feel insecure of drawing yourself you can definitely use other designer's sets and create your own, unique mix from them. After all it's you who puts the pattern together and decides which elements you want to use from a package.
Here are a few lovely sets which work well:
Once you have a basic idea of what you want to create, it's time to move on to the next step.
Step 2: Setting up your Document
To ensure your pattern is high-quality and scalable, it's important to set up your document correctly. Depending on the design program you're using, this may involve selecting a specific canvas size and resolution, setting up a grid, or adjusting other settings.
To give you a quick overview:
If you use a vector program such as Affinity Designer and vector files (e.g. in SVG format) you don't need to worry about the size. You can scale your pattern later infinitely. On the other hand: If you create a pattern in a raster based program such as Adobe Photoshop or Procreate you most likely use PNG files which are raster based. And that means, on the other hand, that you cannot scale them or they get blurry. Because of this it's a great idea to create the patterns in the size you wanna use them. Often this means you need a size of about 4000x4000 px (or more) to be secure that you can use them for many occasions.
Step 3: Adding Elements to your Pattern
Once you have now picked the elements you want to use and set up your document in the program of your choice you need to arrange your pattern.
Creating a seamless pattern can be tricky if you use a program such as Procreate or Photoshop. Then you need to make sure that you re-arrange the squares of your pattern to make it really infinite. The same is valid for Procreate. You cut your pattern in four equal parts and move them over the edges. I show you how to do that in detail in the class "From Procreate to Pattern":

From Procreate
to Pattern
Learn how to create your very own seamless patterns. Create your own fabric or physical products.
Creating such a seamless pattern with vector elements in Affinity Designer is pretty easy. There you have a square where you move your elements around and in the live preview you can see how your pattern will look as a seamless repeat, easy-peasy!
Step 4: Finalising and Exporting your Pattern
Once your pattern is complete, you may need to make some final adjustments to ensure that it is ready for your intended use. Depending on your specific project, this may involve adjusting colors, scaling the pattern, or making other small tweaks. Once your pattern is finalized, export it in the appropriate file format for your intended use. If you have created your pattern in Adobe Illustrator or Affinity Designer, you may need to export it as a vector file. When you have created it as a raster based file save it as a JPG.
In both cases make sure that you save your work file. This means you should save your .illustrator file in Adobe Illustrator or the .afdesigner file in Affinity Designer. When you export your file from Procreate (.procreate) or Adobe Photoshop (.PSD) you need to export those work files as well.
This way you ensure that you have the layered work files for later use.
Conclusion
Creating your first pattern can be a fun and rewarding experience, and there are many ways to approach the process. By planning your design carefully, setting up your document correctly, selecting and arranging your elements carefully, creating a seamless repeat, and finalizing and exporting your pattern, you can create a pattern that looks great and is ready for use in a variety of applications. Don't be afraid to experiment with different techniques and elements to create a unique and compelling pattern that reflects your personal style and creativity.

Procreate for iPad Beginner Class
Join me in the free Procreate Class and learn everything you need to know for creating your artwork in Procreate.


