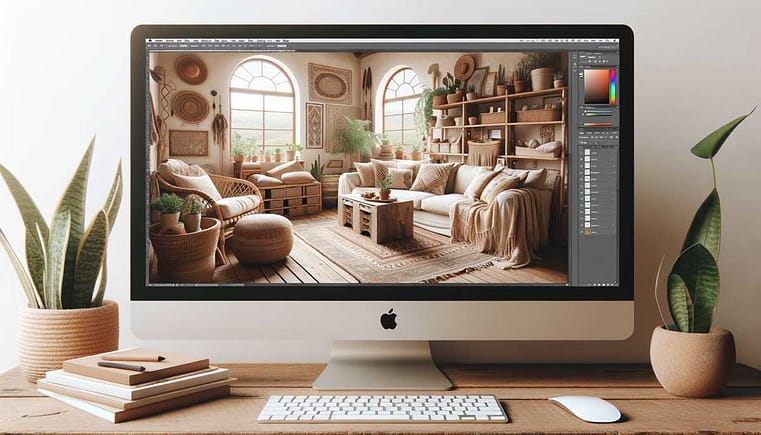
In the vast realm of design and art presentation, the ability to showcase your work in a tangible, real-life context is invaluable. Enter the world of mockups—a tool that not only enhances your presentation but also elevates the perceived value of your artwork. This article delves deep into the significance of mockups and offers a concise tutorial on creating them in Photoshop.

The Significance of Mockups
I use mockups all the time. If I have drawn a new watercolor artwork it would be hard and expensive to have it first printed, then framed, hung on a wall and, once done after a week or two, taken a photo of. And even if I'd do all that it would by far not look as nice as a mockup I can purchase in the style I need. Here at Digidesignresort we are all about boho and nature. So I'd need this style precisely in my home... You see it would not just be a lot of work but also a question of money to make all that happen.
So have a look at some of the advantages mockups offer:
- Contextual Presentation: Mockups allow artists and designers to present their creations within real-world settings. Whether it's a logo on a storefront, artwork on a wall, or a design on a T-shirt, mockups bridge the gap between concept and reality.
- Boosting Perceived Value: By situating your artwork within a realistic context, mockups can elevate its perceived value, making it more appealing to clients or potential buyers. Beside that they definitely get an idea why they need your work as it would be perfect for their home, wouldn't it? 🙂
- Feedback and Refinement: Mockups can be instrumental during the feedback phase, allowing clients or team members to visualise the final product, leading to more precise and constructive feedback.
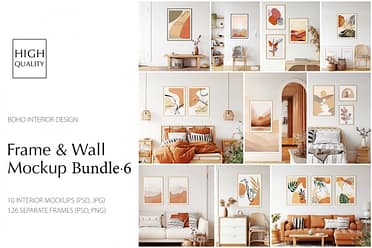
Here are two of my favorite Mockup Sets:


Both are created by Yuri who gives a lot of options and allows the user to modify the outcome.
Creating Mockups in Photoshop: A Brief Tutorial
Creating mockups is not done with the blink of an eye. Sure you can do it yourself and here is a brief tutorial. But you can also totally purchase mockups from professional companies who have specialised in their creation.

In case you wanna try it, here a brief overview:
- Start with a Base Image: Begin with a high-quality photograph of the real-life setting where your artwork will be showcased. This could be anything from a blank T-shirt, an empty wall, or even a blank billboard.
- Introduce Smart Objects: In Photoshop, smart objects are layers that contain image data. They allow you to edit an image non-destructively. Convert the part of your image into a smart object which represents the place where your artwork should be. This can be a frage, a canvas on the table or nearly anything. You convert a layer into a smart object by right-clicking on the layer and selecting 'Convert to Smart Object'.
- Position and Transform: Place your artwork (now a smart object) onto your base image. Adjust its size, perspective, and position to fit naturally within the scene.
- Adjust Lighting and Shadows: To ensure your mockup looks realistic, adjust the lighting and shadows to match the base image. This might involve adding drop shadows, highlights, or even adjusting the overall brightness and contrast.
- Save as a Layered File: For maximum flexibility, save your mockup as a PSD (Photoshop's native format). This allows you to adjust individual elements later on.
Why Layered Files and Smart Objects Matter
Layered files, especially in the context of mockups, offer unparalleled flexibility. They allow designers to adjust, refine, or even replace individual elements without disturbing the overall composition. Smart objects, on the other hand, preserve the original image's data, ensuring that no quality is lost during transformations. Together, they make the process of creating and refining mockups seamless and efficient.
Mockups are more than just a presentation tool—they're a bridge between concept and reality, imagination and tangibility. By utilising tools like Photoshop, layered files, and smart objects, artists and designers can create compelling mockups that not only showcase their work in the best light but also resonate with their audience.
Do you wanna learn more about how to use mockups?
I show you how to use them in my class:

Create and sell Watercolor Wall Art
Let's draw a watercolor artwork together and then digitise it. Once done we create different ratios and prepare it for sale. It's great fun!
