As a digital illustrator, having the right brushes can make all the difference in your artwork! While Procreate comes with a wide range of pre-installed brushes, creating your own custom brushes can take your work to the next level. In this post, I'll walk you through the steps of creating custom brushes in Procreate.
Step 1: Create a new canvas
Open Procreate and create a new canvas by tapping the "+" icon in the top right corner of the screen. Choose the size and orientation that you prefer for your brush.
Step 2: Create your brush shape
Using the brush tool, create the shape that you want to use for your custom brush. Make sure that you use white on a black background to import your drawings into the brush studio.
Your shape can be simple like a circle or square, or a more complex one.

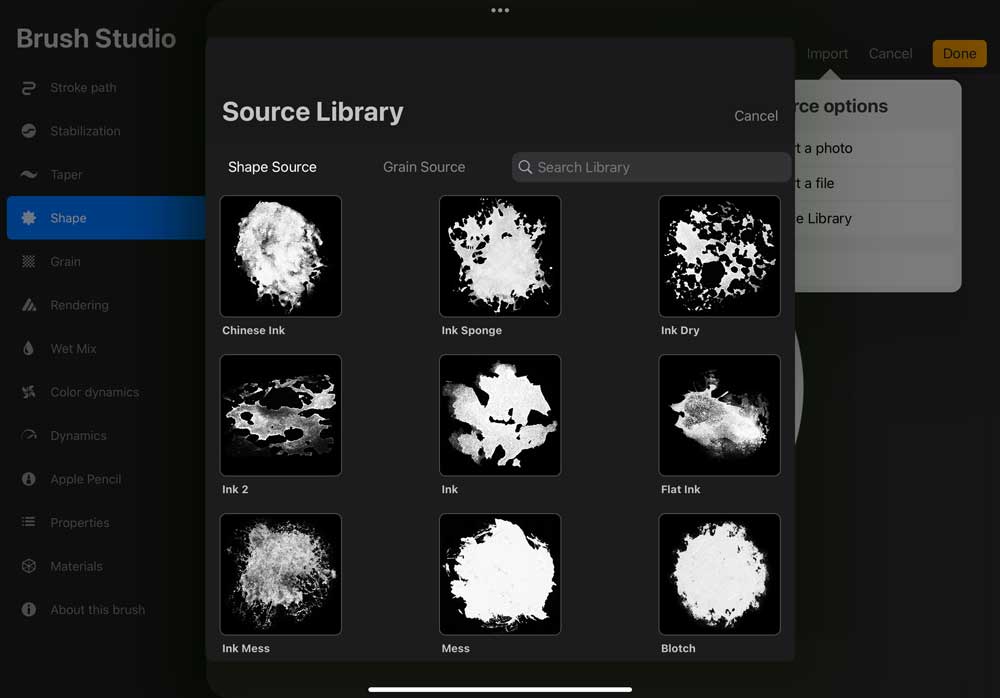
There is a build in shape editor in Procreate. So if you don't wanna draw anything you can use these shapes to create your own brush.
Step 3: Edit your brush settings
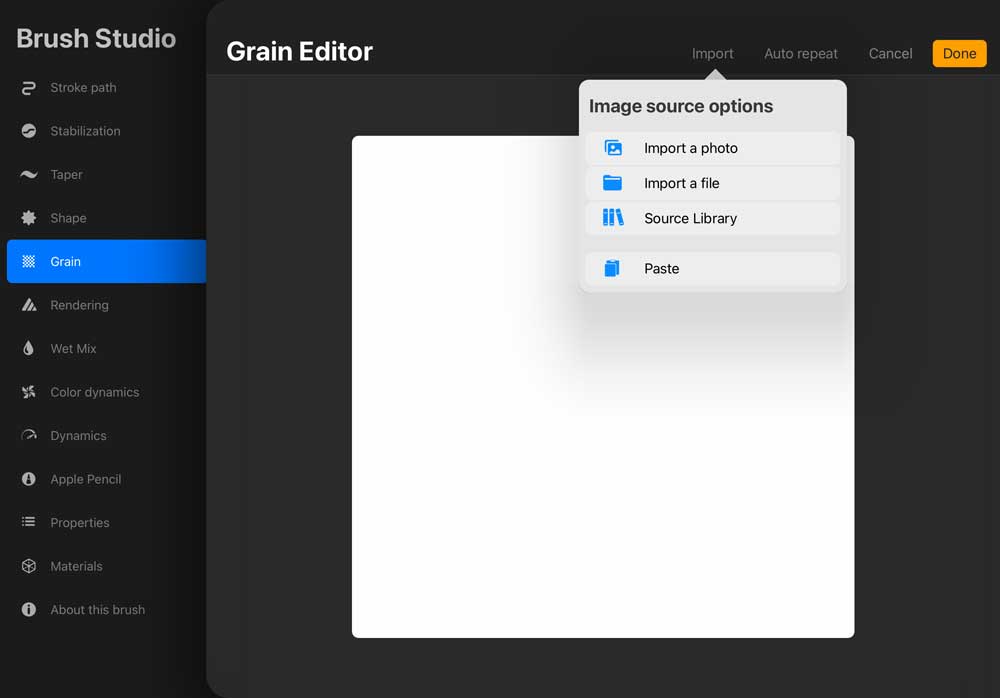
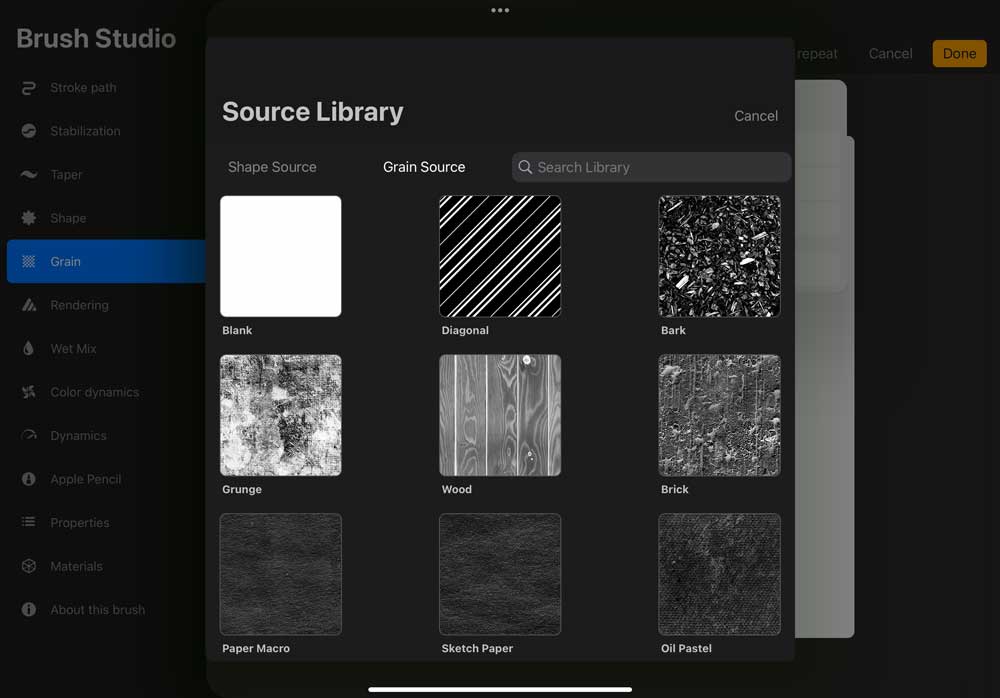
Once you have your shape, tap the wrench icon in the top toolbar to access the brush settings. Here, you can adjust the shape, size, spacing, and other parameters to fine-tune your brush. There are tons of settings in the brush studio and you can even access grain in the source library and mix it with the shape from the source library for shapes (see image above).

No matter if you go to Grains or Shapes - you find the import button and you can go to the source library from there to access the build in tools.

You can also find build-in grains in Procreate.
Step 4: Save your custom brush
When you're happy with your brush, tap the "+" icon in the top right corner of the brush settings panel to save it as a custom brush. You can give your brush a name and choose a category for it to be stored in.
Step 5: Use your custom brush
To use your custom brush, select the brush tool and choose your custom brush from the brush library. You can adjust the size and opacity of your brush as needed to create the desired effect.
Bonus Tip: Importing Brushes
If you have brushes from other artists or sources, you can import them into Procreate and use them in your artwork. To import a brush, tap the "+" icon in the top right corner of the brush library and choose "Import." Select the brush file from your device and it will be added to your library.
Creating custom brushes in Procreate is a great way to personalize your artwork and improve your workflow as a digital illustrator. With these steps, you'll be on your way to creating brushes that are tailored to your unique style and needs.
Be aware that there are tons of settings in the brush library which influence the appearance of your brush. So take your time and play with them and, if you optimize your brushes they make also a GREAT digital product for sale!
